Last week, Jordan contacted me for professional studio headshots. A mutual photographer friend had referred him to me. Jordan will be graduating from med-school this year! The school had very particular requirements of how an image they needed should appear. I knew we could get the one image he needed quickly and would still have time remaining in the headshot suggestion. I asked if he’d also like some to use the extra time to create a variety of professional and creative headshots. He thought it sounded fun and was very interested! My Mesa studio I share with other photographers is located at 2450 W Broadway Rd #112, Mesa, AZ 85202 and is called Space One2One.
If you’re in need of professional headshots, please check out my Andrew Millett Photography headshot page for packages and booking information!
Starting the Studio Headshots Session
Jordan only came with his white shirt, tie, suit jacket, and jeans. This is perfectly fine for professional studio headshots since we’d only be getting images of the upper body, cutting the image off somewhere towards the top of the stomach. He could also more easily change in the bathroom after the session into casual clothes and go about his day!
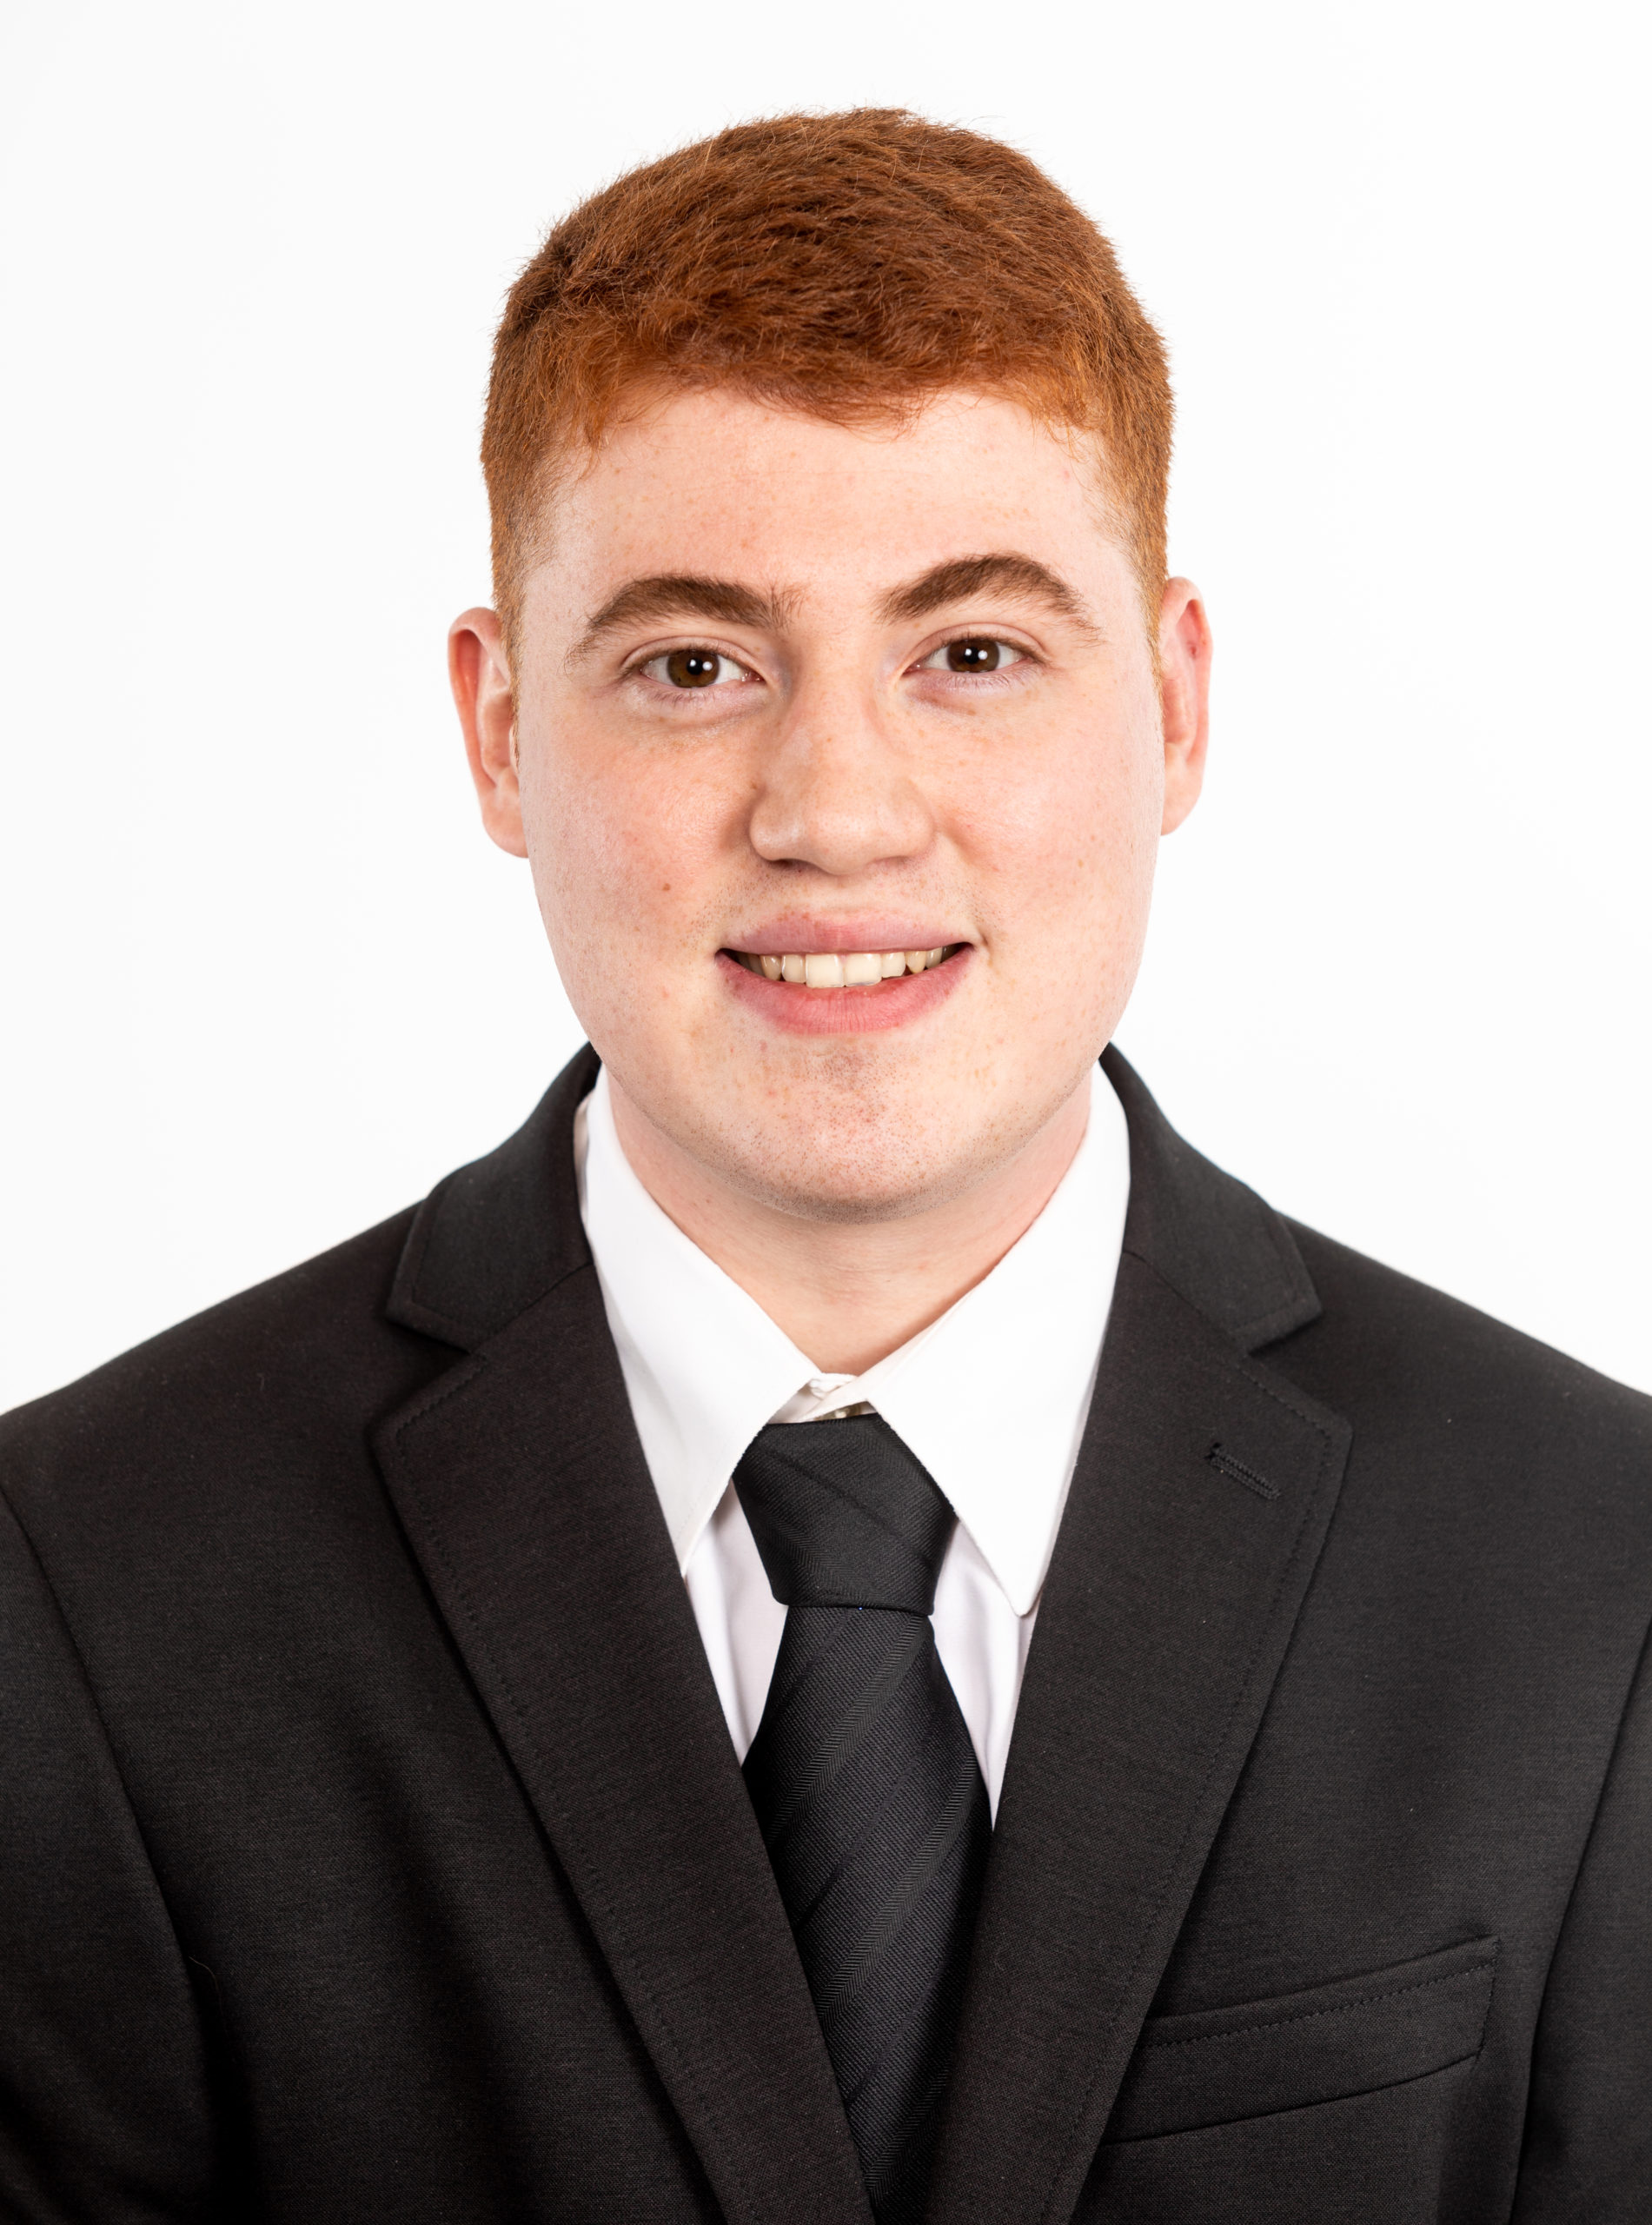
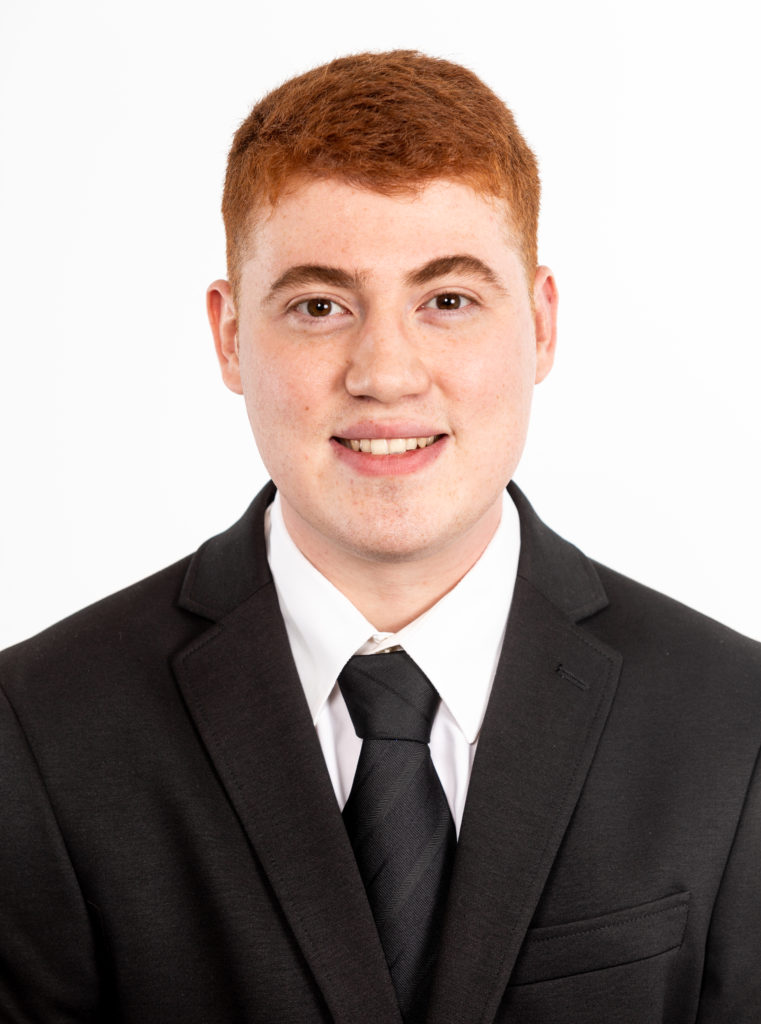
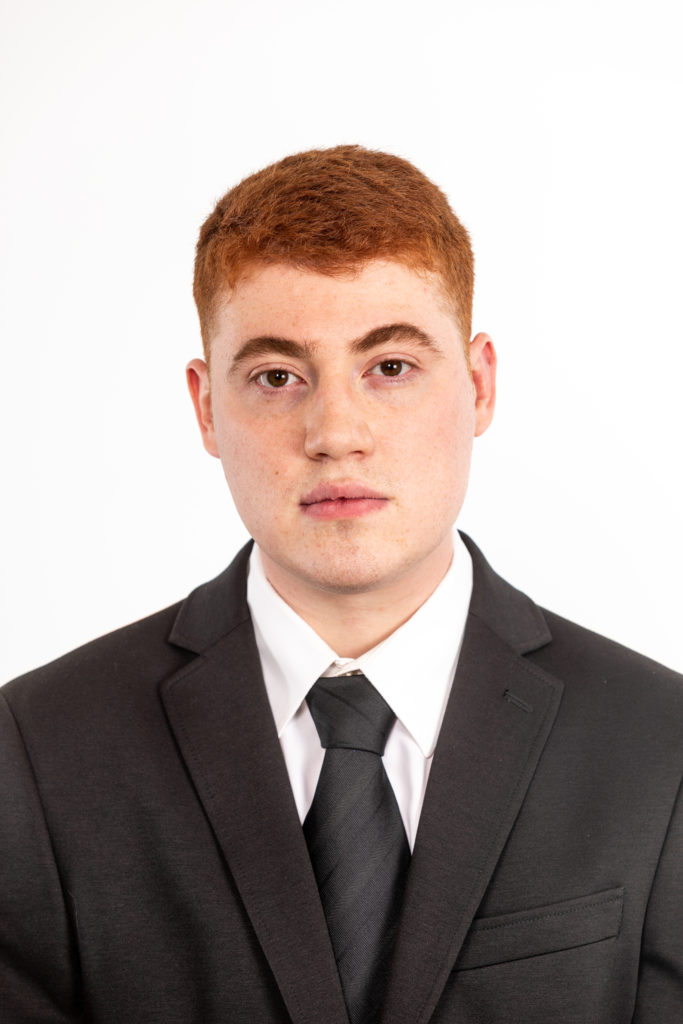
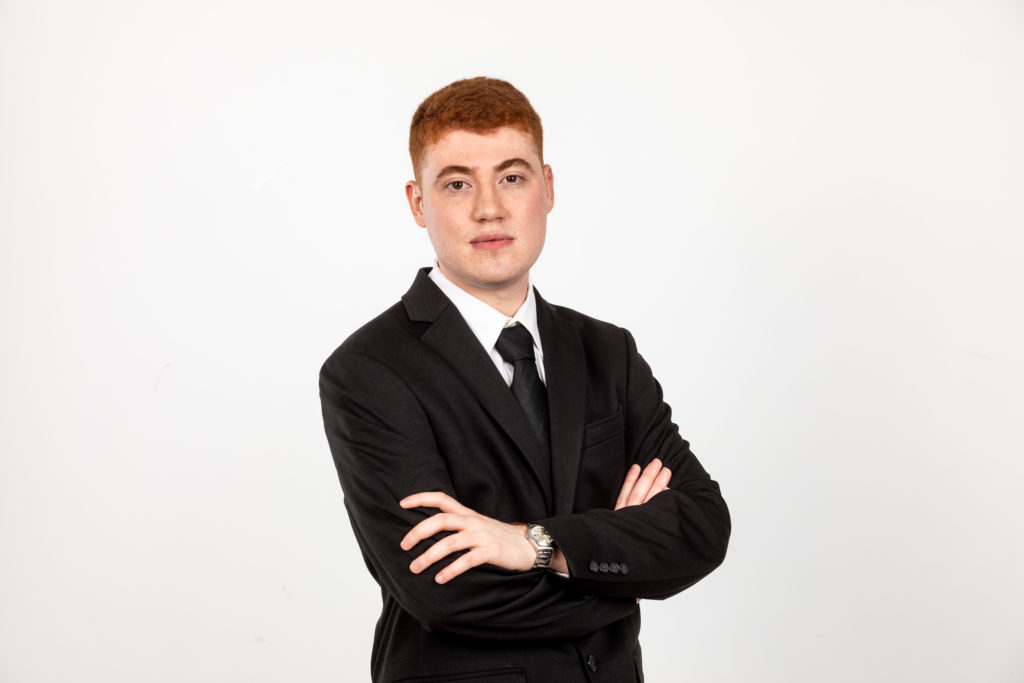
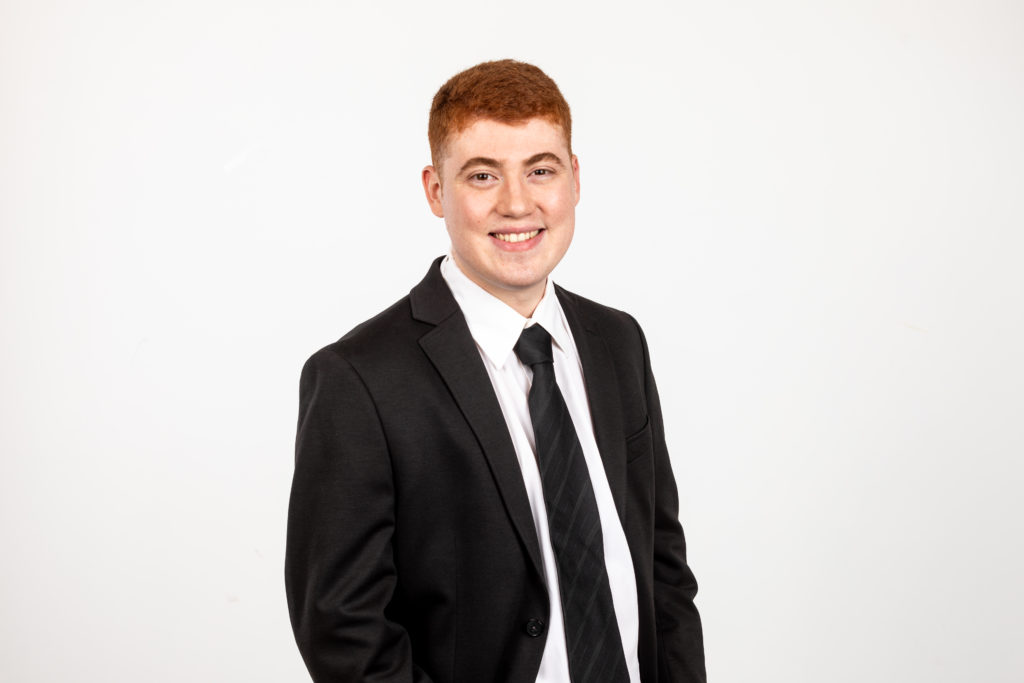
The first image needed either a neutral expression or a friendly smile. I got one of each for him to choose which one he preferred later from his online gallery. This took probably about 2-3 minutes to get those shots.
In the first two images, Jordan needed his face well lit with no harsh shadows. Four lights total were used to achieve this look. There were two large lights behind me, one light just left and up above Jordan, and one facing the background behind Jordan in order to make it bright and white.
Posing Tips
Although the pose itself wasn’t difficult, I had some tips for him for a more powerful headshot. The first is to lean towards the camera, bringing your face closer than the rest of your body to the camera. Whatever is closest to the camera will be the largest and most prominent, whereas the opposite is true; whatever is furthest from the camera will be smaller and less conspicuous. The eyes and face are the most important as that’s where we want viewers to notice and look to first. By bringing his face closer, his eyes and face overall become larger and more prominent in the image. This also sharpens the jaw line as Jordan slightly stretches his head away from his neck
My second tip was to narrow his eyes just slightly. When a subject’s eyes are wide open, we interpret that expression as fearful, scared, and nervous. This expression would distract from the message Jordan wants to communicate in his headshots, which is confidence and drive. Therefore, we narrow the eyes looking straight into the camera.
Getting Creative with Professional Headshots
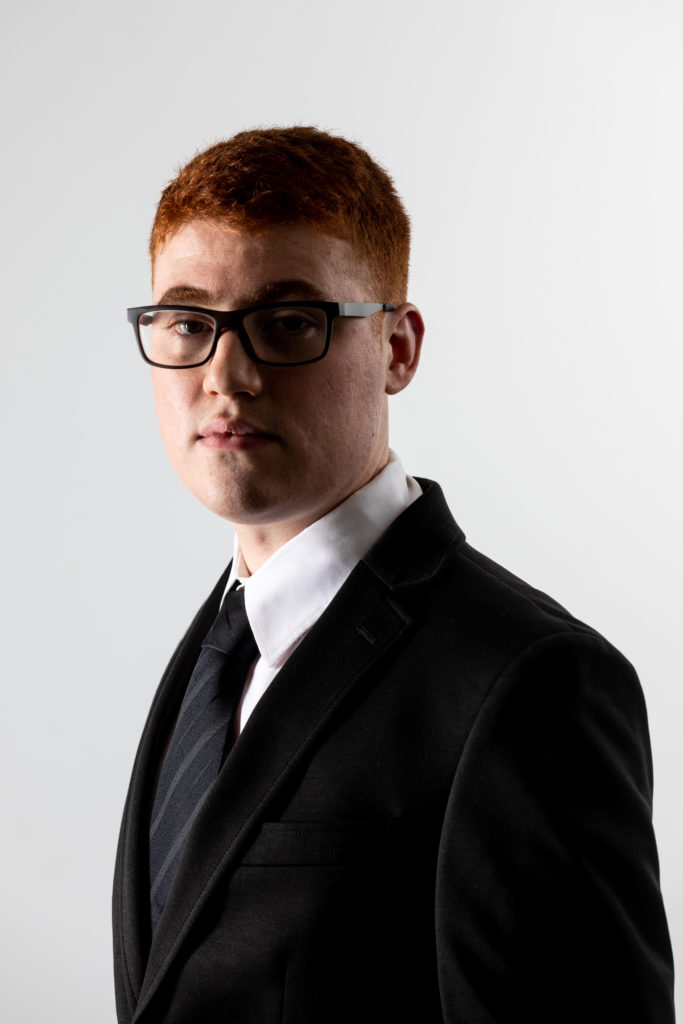
I didn’t intend to keep the next two images. I was just adjusting the intensity and position of the light hitting Jordan’s right cheek. But I decided to keep these images because it’s still an interesting look. This lighting style is called ‘split lighting’. I consider it one of the most intense and dramatic because of the shadow on half his face. I wouldn’t consider this in corporate use, but it may have some use for an actor as a theatrical headshot or, in Jordan’s case, just for fun on social media.
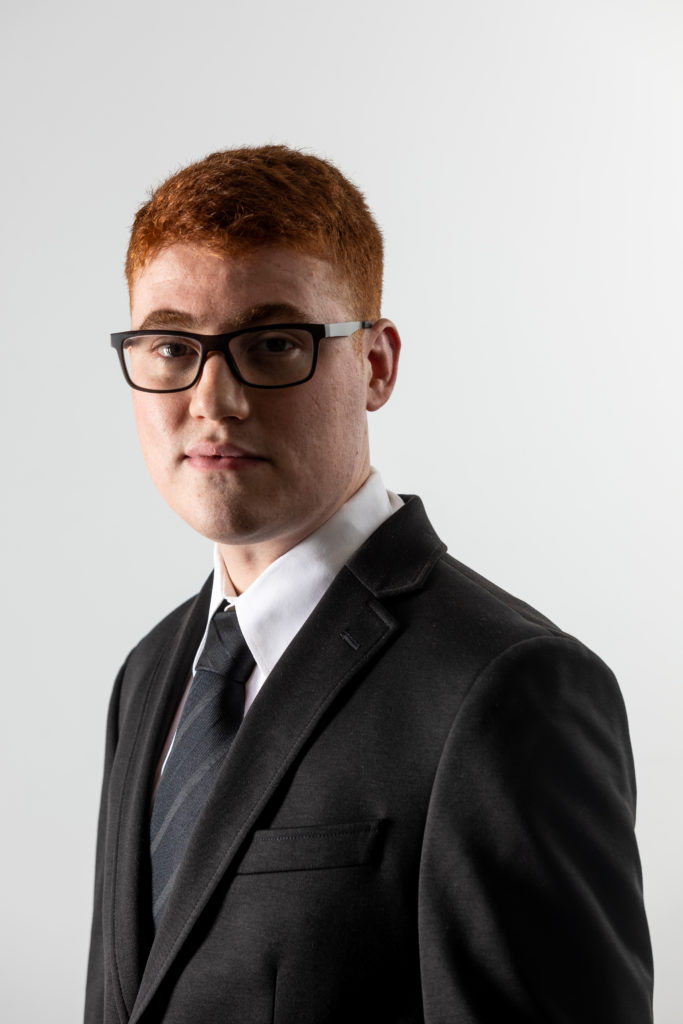
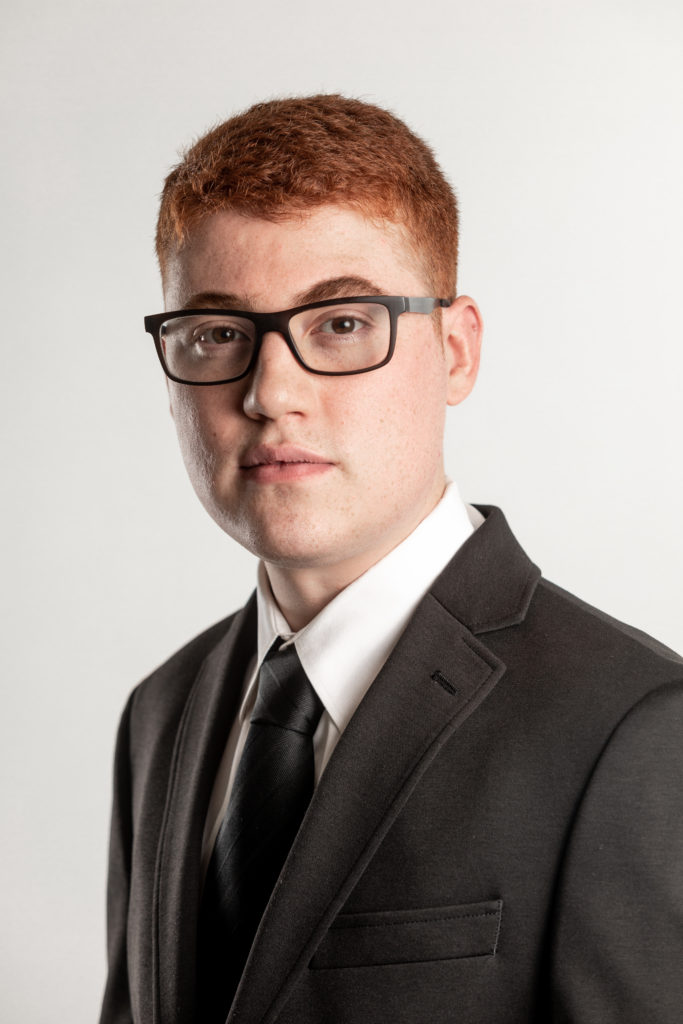
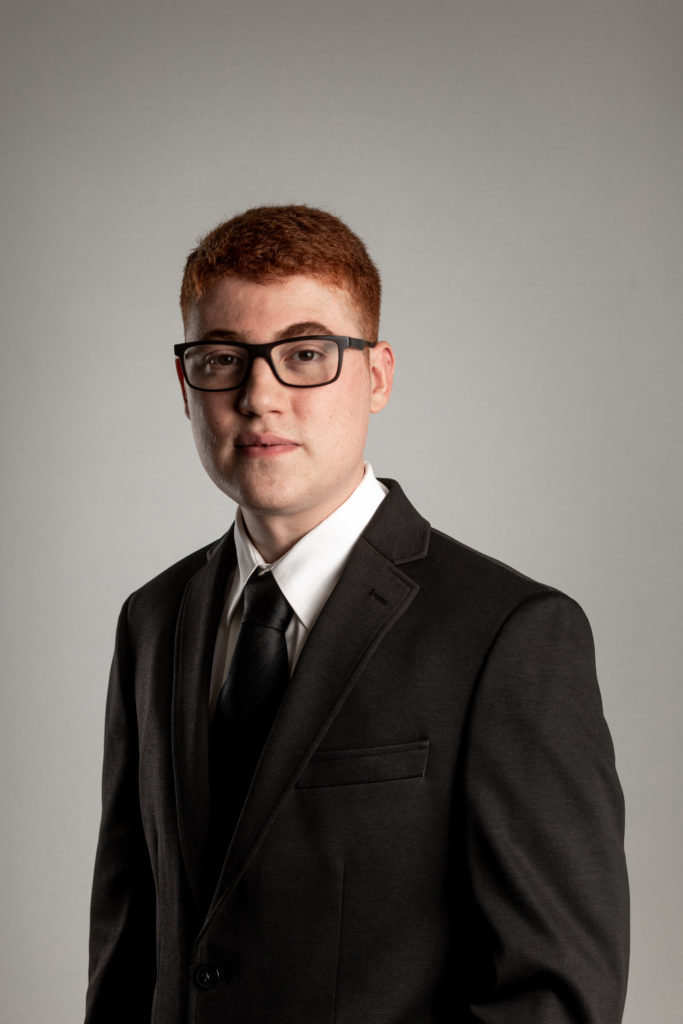
The next 5 images are either Rembrandt or Loop style of lighting. If Jordan slightly turned his head away from the key light, it would vary between the two. In Rembrandt lighting, a triangle of light is created just below the eye on the predominantly shadowed part of the subject’s face. The triangle is created by the shadow from the nose connecting with the shadow from the cheek. In loop lighting, it is similar to Rembrandt, but there is no triangle as the shadow from the nose does not connect to the cheek shadow. Because Jordan is wearing glasses, the triangle of light that would be there for Rembrandt style lighting is interrupted by the glasses. Both Rembrandt and loop lighting styles are a little more dramatic and dark, but not as much as the split lighting. A good rule of thumb, is generally, the further to the side of your subject, the more dramatic, dark and intense the image will be.
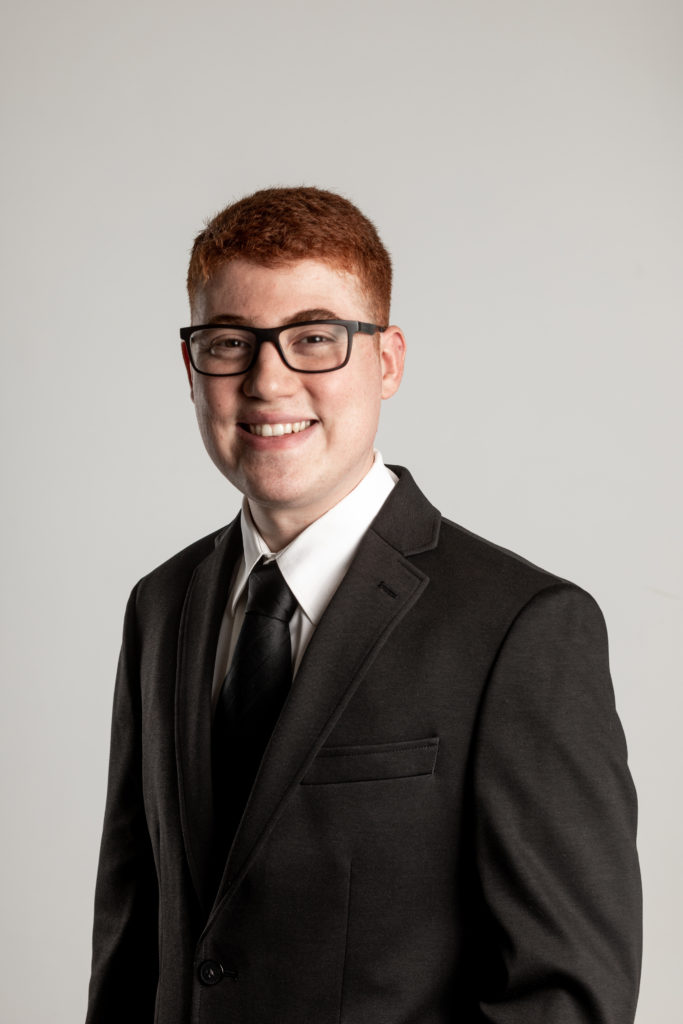

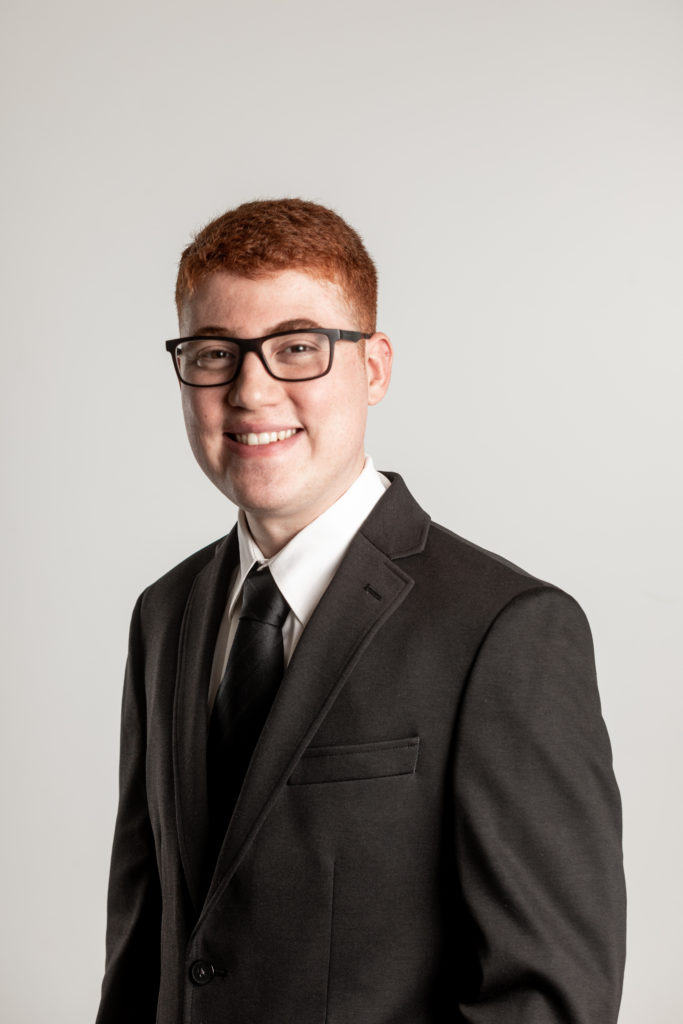
We finished the session getting brighter and evenly lit headshots for Jordan. These are more corporate style and Jordan might consider using them in a more professional nature.


Thanks for reading! Please be sure to reach out if you have any questions. Click here if you would like to book your professional headshot session!
Last week, Jordan contacted me for professional studio headshots. A mutual photographer friend had referred him to me. Jordan will be graduating from med-school this year! The school had very particular requirements of how an image they needed should appear. I knew we could get the one image he needed quickly and would still have time remaining in the headshot suggestion. I asked if he’d also like some to use the extra time to create a variety of professional and creative headshots. He thought it sounded fun and was very interested! My Mesa studio I share with other photographers is located at 2450 W Broadway Rd #112, Mesa, AZ 85202 and is called Space One2One.
If you’re in need of professional headshots, please check out my Andrew Millett Photography headshot page for packages and booking information!
Starting the Studio Headshots Session
Jordan only came with his white shirt, tie, suit jacket, and jeans. This is perfectly fine for professional studio headshots since we’d only be getting images of the upper body, cutting the image off somewhere towards the top of the stomach. He could also more easily change in the bathroom after the session into casual clothes and go about his day!
The first image needed either a neutral expression or a friendly smile. I got one of each for him to choose which one he preferred later from his online gallery. This took probably about 2-3 minutes to get those shots.
In the first two images, Jordan needed his face well lit with no harsh shadows. Four lights total were used to achieve this look. There were two large lights behind me, one light just left and up above Jordan, and one facing the background behind Jordan in order to make it bright and white.
Posing Tips
Although the pose itself wasn’t difficult, I had some tips for him for a more powerful headshot. The first is to lean towards the camera, bringing your face closer than the rest of your body to the camera. Whatever is closest to the camera will be the largest and most prominent, whereas the opposite is true; whatever is furthest from the camera will be smaller and less conspicuous. The eyes and face are the most important as that’s where we want viewers to notice and look to first. By bringing his face closer, his eyes and face overall become larger and more prominent in the image. This also sharpens the jaw line as Jordan slightly stretches his head away from his neck
My second tip was to narrow his eyes just slightly. When a subject’s eyes are wide open, we interpret that expression as fearful, scared, and nervous. This expression would distract from the message Jordan wants to communicate in his headshots, which is confidence and drive. Therefore, we narrow the eyes looking straight into the camera.
Getting Creative with Professional Headshots
I didn’t intend to keep the next two images. I was just adjusting the intensity and position of the light hitting Jordan’s right cheek. But I decided to keep these images because it’s still an interesting look. This lighting style is called ‘split lighting’. I consider it one of the most intense and dramatic because of the shadow on half his face. I wouldn’t consider this in corporate use, but it may have some use for an actor as a theatrical headshot or, in Jordan’s case, just for fun on social media.
The next 5 images are either Rembrandt or Loop style of lighting. If Jordan slightly turned his head away from the key light, it would vary between the two. In Rembrandt lighting, a triangle of light is created just below the eye on the predominantly shadowed part of the subject’s face. The triangle is created by the shadow from the nose connecting with the shadow from the cheek. In loop lighting, it is similar to Rembrandt, but there is no triangle as the shadow from the nose does not connect to the cheek shadow. Because Jordan is wearing glasses, the triangle of light that would be there for Rembrandt style lighting is interrupted by the glasses. Both Rembrandt and loop lighting styles are a little more dramatic and dark, but not as much as the split lighting. A good rule of thumb, is generally, the further to the side of your subject, the more dramatic, dark and intense the image will be.
We finished the session getting brighter and evenly lit headshots for Jordan. These are more corporate style and Jordan might consider using them in a more professional nature.
Thanks for reading! Please be sure to reach out if you have any questions. Click here if you would like to book your professional headshot session!

Comments